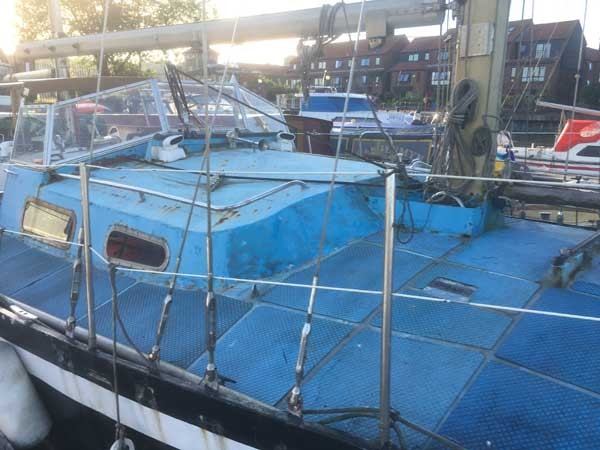
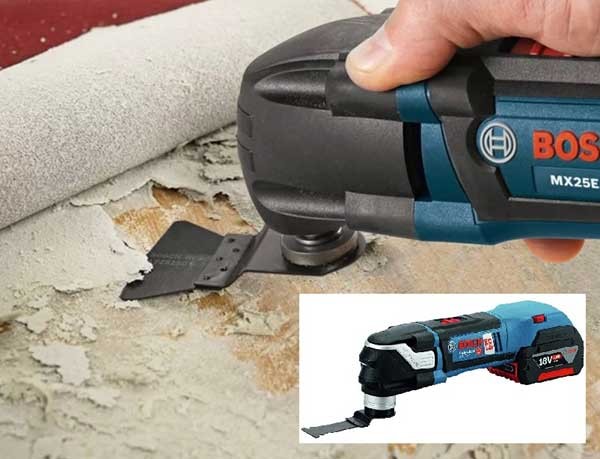
It didn’t take us long to decide to remove all the Treadmaster anti-slip deck covering from the deck. We had read that unless it was fitted correctly water or moisture could become trapped underneath and corrode the steel deck unseen. Some areas could be lifted easily just by tugging on a corner; water ran down the deck as tiles were removed confirming what we had read. Other areas required the use of a blade attachment in a multi-tool (this tool is on our recommended tool list as it has also been indispensable in other tasks). We found the 18V Bosch model excellent, although other brands may be just as good.
The paint coating beneath the Treadmaster was mostly sound but there were some areas of corrosion.
The hull – above and below the waterline.
We knew we had a difficult job on our hands as the marina would not allow us to shot blast (this is common in a lot of marinas). We went online to see what others were using to remove paint from their steel boats. A tool that came up time and again was a Roto Blaster. The Roto Blaster is essentially a rubber disk with mounted tungsten tips which should leave a profile similar to shot blasting. They come in a few different forms from a single disk that can be mounted in a regular drill to a dedicated machine with a block of 6 disks (similar to an angle grinder or polisher) some come with a guard and dust extraction.
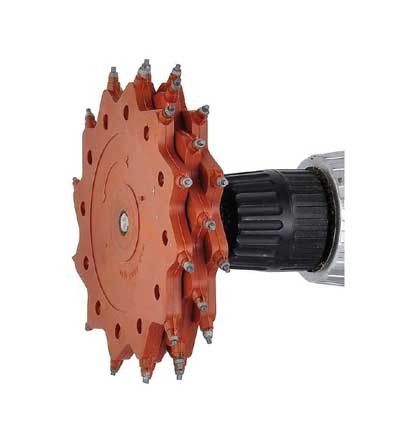
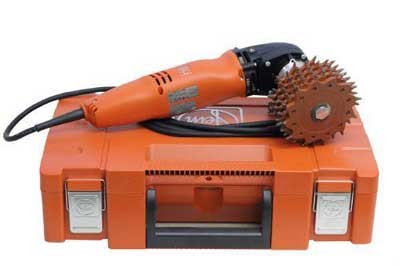
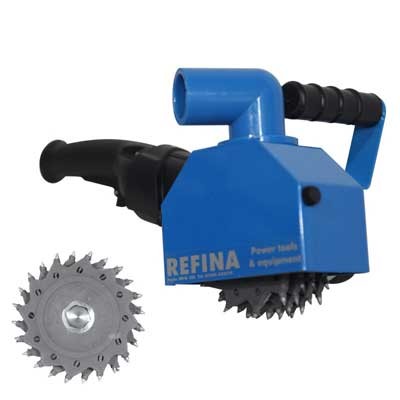
We hired the blue one in the pictures above from Brandon Tool Hire in Bristol. We found this did a very good job of removing the topcoat and primer from the hull. We guessed that there was possibly 5 coats of primer/topcoat. This was tough work and produced a lot of dust unless the vacuum was connected. We definitely recommend a vacuum cleaner (and the marina you’re in may require it) with a power take-off socket. This feature switches the vacuum cleaner on & off automatically when you’re using the stripping tool. We bought the 30L Titan model from Screwfix and found it worked well. The blaster tool was quite heavy and made more difficult to handle with the vacuum hose connected. We found that, especially when using the blaster on the underside of the boat, holding it in position was really tiring. We worked out that we averaged 1-2m² of stripping per hour and that the muscles in our arms would look like Popeye’s after about a week! It was at this point that we remembered that we had some really important things we should be doing at the office and decided to hire in some help! The help we hired could be described as ‘unskilled manual labour’ and this choice did reveal another potential weakness of the Roto Blaster. If it is used carefully and without applying too much pressure the blades are very durable. However, If you press too hard and are careless going over welds, edges or any raised areas you could destroy a set of blades in a matter of an hour or so. After destroying two sets of blades in as many days and at £140 per set we concluded that the Roto Blaster may not be the best option for us/our hired help!
After some more internet research we come across these Poly Strip disks. We tried different makes at various prices and found some that lasted the longest but were also the most expensive. We were so impressed with these disks that we are looking for a supplier and hope to offer them for sale on our website soon.
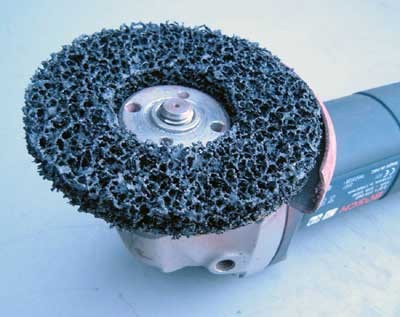
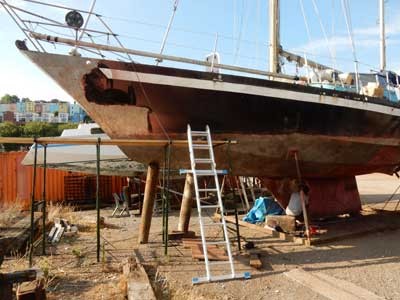
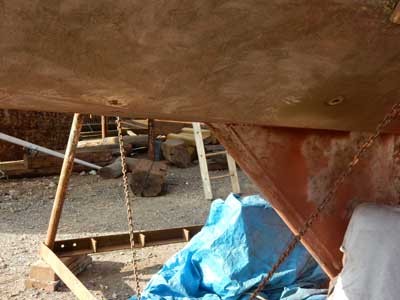
The disks fit in a standard angle grinder and proved to be very effective. They cut fairly quickly through paint without clogging or damaging the steel. On smooth areas they produced a really clean finish, but they weren’t so good on heavily pitted areas. If the steel on your boat is badly pitted, you might be better off with the Roto Blaster or a combination of both. We worked out that you could average 1m² an hour which was also the life of the disk as they wear away quickly. With over 100m² to prep, we spent over £800 on disks alone. The dust was pretty bad and you need full protection or it gets everywhere. We were still very busy in the office but our hired help was very dirty at the end of each day!
PART 1 - Introduction
PART 2 - The viewing, purchase and survey
PART 3 - Preparing the deck and hull
PART 4 - Finding corrosion
PART 5 - The Bilge
PART 6 - Fairing
PART 7 - Painting - Primer
PART 8 - Painting - Topcoat

