
Choosing the final hull colour was a difficult job. We knew we wanted something different from the usual royal blue or white but just how far away from the normal were we prepared to go. We knew that dark colours show up any inconsistencies in the hull and glossy dark colours would show the most. DuBleiz’s hull had been faired but it was far from perfect so a dark gloss was out. As a starting point we went online and looked at images of yachts with different coloured hulls. We found that Hanse Yachts had some nice light colours that were just a bit different so we got a colour chart and selected some of their light greys and blues.
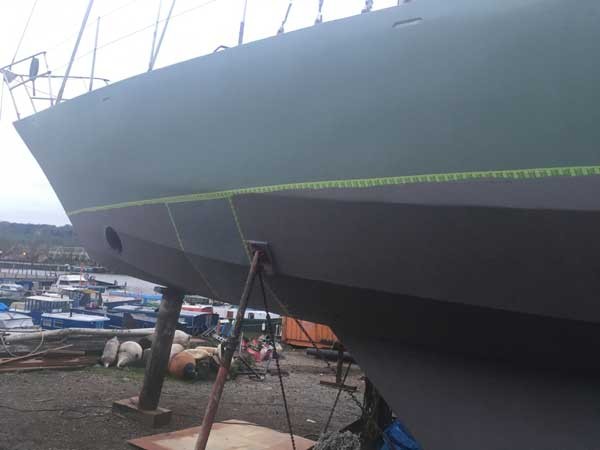
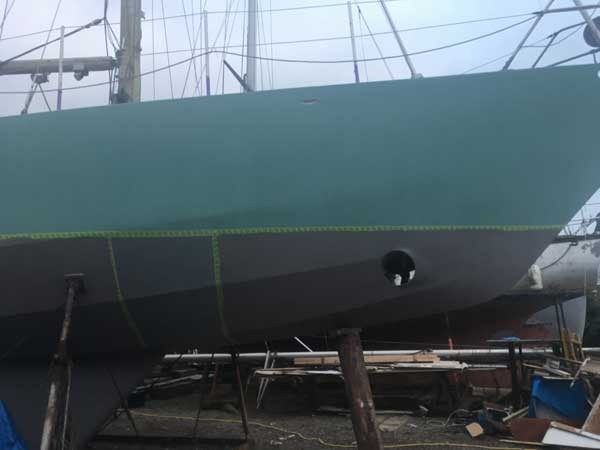
Here is a great tip if you are priming your boat first. We can mix our SHIELD High Build Epoxy primer to any colour and knew we were going to apply two or three coats to the hull so, we painted each coat, on each side, a different colour so we could see what they looked like on the boat (see Painting – Primer). It didn’t matter if the colour wasn't right because we knew we were painting over with the topcoat so we were able to try some different variations. We were surprised just how the colours changed with different light throughout the day and eventually tweaked the Hanse colour we liked the most to give us the final colour we were going to use as our topcoat
Applying the topcoat
This really is the part of the project where we were going to learn the most about the paint that we supply to our customers. We were going to try different methods of application, thinning and not thinning the paint and experiment with how we used the rollers and brushes for the best results. After the final coat of SHIELD High Build Epoxy Primer we sanded the hull with 120 grit paper to give a smooth finish. It was smooth but not perfect as there were still tiny indentations. We wanted to test how well the topcoat would self-level hiding these imperfections.
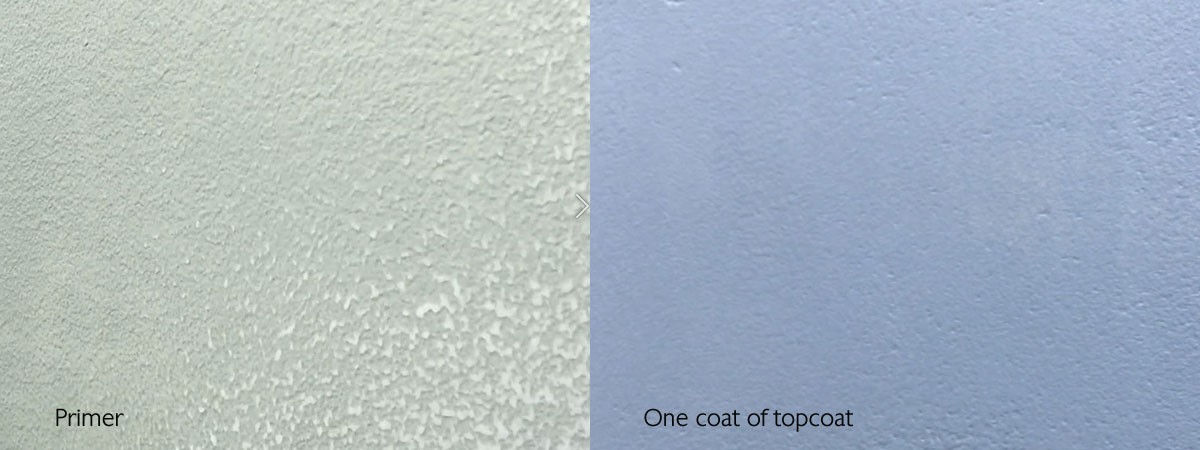
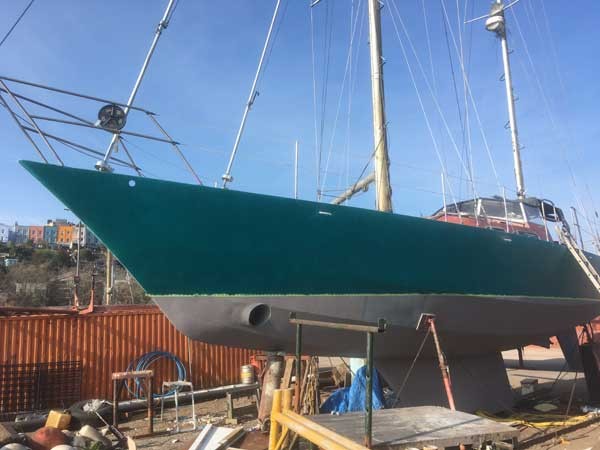
The topcoat we were going to use is our own LUSTRE Polyurethane Topcoat in a Satin finish. LUSTRE Polyurethane Topcoat is a 2-pack topcoat that retains its colour for up to 10 years, has excellent abrasion resistance and was specially formulated by us for brush & roller application, with excellent flow-out and extended wet edge properties. We applied the first coat with a 4” flock roller and thinned the paint by 10% using SML Polyurethane Thinners. We didn’t try any fancy techniques, just rolled it on to see what kind of finish we would get. The paint goes on very thin and was easy to apply and keep a wet edge. There were no real roller marks and once dry we were actually quite pleased with the result.
At this stage we wanted to test how well the topcoat sanded to get an even smoother finish so we bought sanding disks for our Makita orbital sander ranging from 80 to 600 grit. The 600 grit polished the LUSTRE Polyurethane Topcoat to a high gloss very smooth finish but we were still left with the small indentations. The topcoat while being very opaque and very hard actually was a very thin coating and provided little in the way of ‘filling’ capabilities. We decided that we would commit to one more stage of preparation before applying more topcoat.
More preperation!
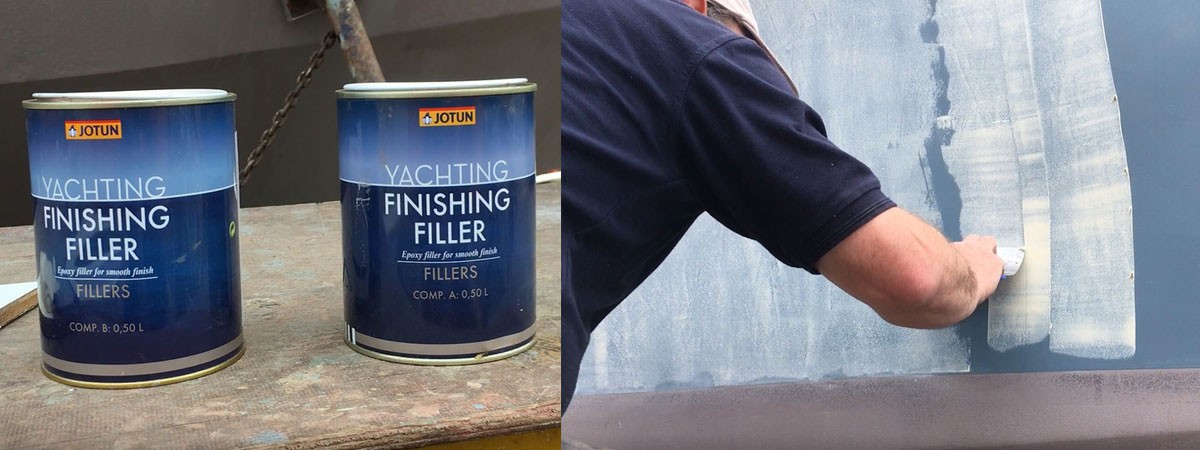
We went over the whole hull again using 120 grit disks to give a good smooth finish and remove any bugs or fluff. We then mixed up some Jotun Finishing Filler. This is a very fine filler and when mixed is about the consistency of toothpaste. We then carefully went over the whole hull using a 100mm filling blade. This process filled in the tiny indentations that were spoiling the finish of the topcoat. As a guide to just how much, or little, we were filling we used a dollop no bigger than half a tennis ball to do each side of the 45ft hull (30 square metres each side). We were really careful to remove any excess filler so there were no high points. This filler dries very hard and sticks amazingly well. Once dried a blob the size of a pinhead could not be scraped off with a fingernail or even a blade, it needed to be sanded. Once sanded, again with 120 grit discs, we now had a much better surface to apply the topcoat.
The topcoat will not cover poor preperation!
We say it to our customers all the time but even we tried to save some time hoping the topcoat would cover a lack of preparation. Lesson learnt and thus reinforcing our own advice – the smoother the surface you have before the topcoat is applied, the smoother the topcoat finish will be – no shortcuts we’re afraid.
Applying the topcoat, again!
Happy that we now had a better surface we mixed up some more LUSTRE Polyurethane Topcoat. A thing to note here is that the primer and the topcoat are two completely different beasts. The primer is the protection so you want it on thick - we were using 2.5 litres per coat of primer on each side of Du Bleiz. The topcoat, on the other hand, is really just a cosmetic layer with the right colour and finish. It is durable and UV stabilised but is applied much thinner. We were using about 2 litres to apply one coat of topcoat to both sides! This reinforces what we say about reading all the documentation, we send with every order before you start and each time you go to paint, as you will need to re-calculate the amount you need, the pot life and how quickly you can apply it with each product.
Having first applied the topcoat in a casual manner we now took the time to look at various internet videos and posts suggesting the best way to apply topcoats. We knew, of course, what we thought was going to be the best method of application but we wanted to try what other people were suggesting too. We obviously had the luxury of having as much paint as we needed and were willing to sand off and start again if necessary - not something we would expect or customers to have the time or the inclination to do.
Laying off or tip and roll
A popular method of getting a good finish is laying off or tip and roll. This is a process whereby paint is applied with a roller, over a small area, and then immediately going over the painted area with a dry brush (usually a 4 inch one) to smooth out any imperfections. Some online videos make the process look easy and the results very good. We tried this method with the polyurethane topcoat but it really didn’t work for us. As we expected even with the enhanced properties of LUSTRE Polyurethane Topcoat we could feel the paint starting to drag when going over it with the brush. It should be noted that it was really too hot and windy on the day we were painting but we wanted to test in the more extreme end of conditions rather than perfect ones.
We are convinced that people who have successful results using the laying off (tip and roll) method are not using a polyurethane topcoat - more likely an oil-based topcoat. Oil-based topcoat are fine for your front door but are not really the best option for marine applications. Two-pack polyurethane paints offer excellent UV resistance as well as providing enhanced durability. These characteristic come from the fact that, as well as physically drying like traditional single pack paints, the two components (a base and a curing agent) undergo an irreversible chemical reaction. One of the disadvantages of polyurethane paints is that they tend to become tacky very quickly due to solvent leaving the paint surface quicker than oil-based paints. This will be especially true if applying with a brush or roller and in hot, dry or windy conditions. We have formulated LUSTRE Polyurethane Topcoat to have all the benefits of a polyurethane topcoat but reduce the disadvantages when applying with a brush or roller - though it is impossible to remove them completely.
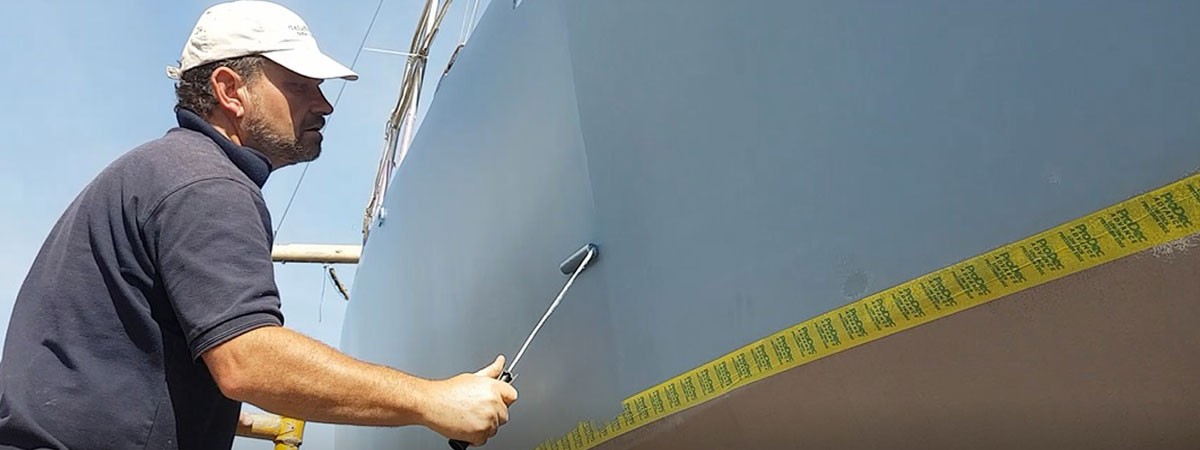
So, after some experimentation, the aim here is to protect the solvent from leaving the paint too quickly. The obvious things are, don’t paint when it is too hot, dry or windy and don’t over work the paint with the roller. If you are in less than ideal conditions or need a bit more time to work up a rhythm then you can thin the paint with polyurethane thinners. However, we found that practicing and getting used to applying the paint meant that we could get a really good finish without thinning. The tip, we found, above all other was to fill the roller with paint and roll a few times in the tray or scuttle so the roller was loaded with paint but not dripping. Then, with a smooth motion, apply the paint to the hull with long strokes from top to bottom maybe three or four roller widths wide. When the roller is almost exhausted of paint (on the third or fourth stripe) go back immediately over the strokes you have done in a long up and down motion gradually releasing the pressure on the roller until it is still rolling but with hardly any pressure until any roller marks are gone and the surface is smooth. Then, move on, reload the roller and do another three or four stripes. Do not be tempted to go back over what you have done. If you look back you will see some stripes but these are the different stages of the paint drying and once they all catch up these should become less obvious if at all.
We were able to do our practicing on the boat but you could also use some spare wood or start in a less visible area first. In the end we were really happy with the finish. We were being very analytical but another thing we learnt was that when you are looking at your paintwork from arm’s length you can see every little detail, when the boat is back in the water it just looks like one smooth coating.
PART 1 - Introduction
PART 2 - The viewing, purchase and survey
PART 3 - Preparing the deck and hull
PART 4 - Finding corrosion
PART 5 - The Bilge
PART 6 - Fairing
PART 7 - Painting - Primer
PART 8 - Painting - Topcoat
Follow us on:
Use the form below or send an email to info@smlpaints.co.uk

