
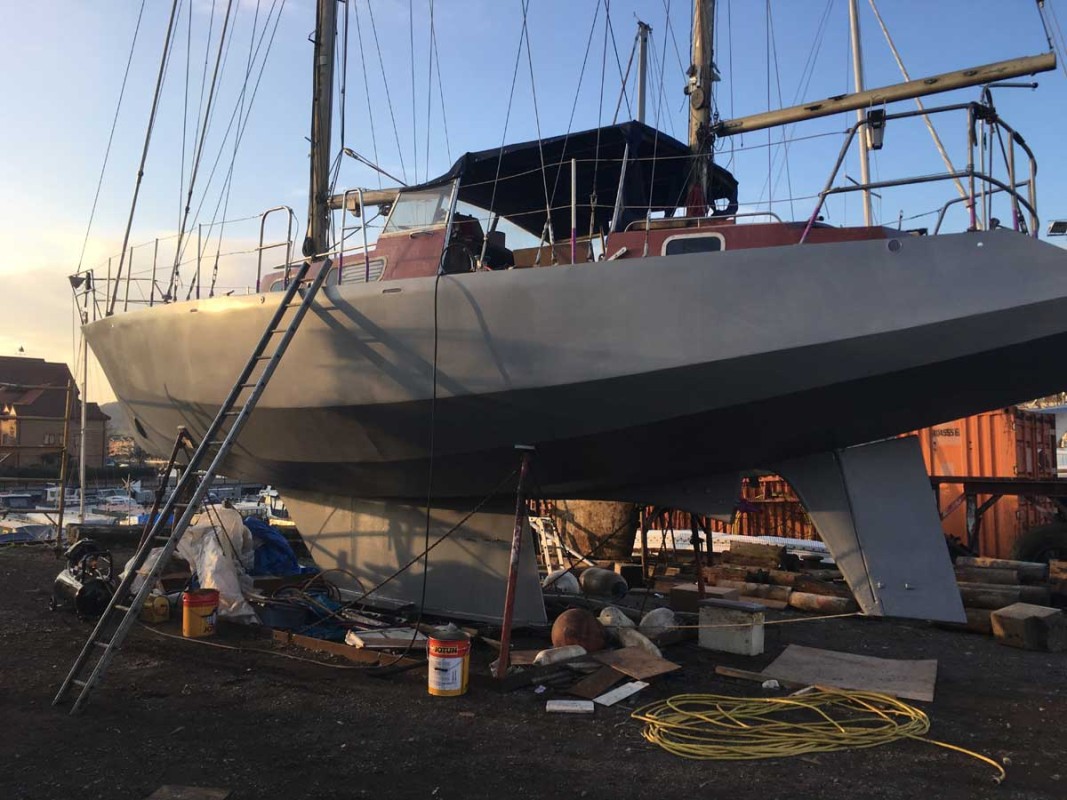
After months of preperation we were finally ready to start painting. The most important paint layer is the protective one and we chose our own product SML’s Surface Tolerant Epoxy Primer. We had done a very good job of removing any old paint from both the exterior hull and inside in the bilge but if the preperation is not perfect the Surface Tolerant Epoxy Primer is more forgiving and will provide better protection than using most other epoxy primers . Externally everything was jet washed and internally everthing was scrubbed with a degreasing solution and thoroughly dried. For this operation we involved the whole team which included Eddy, Laura and Bogdan.
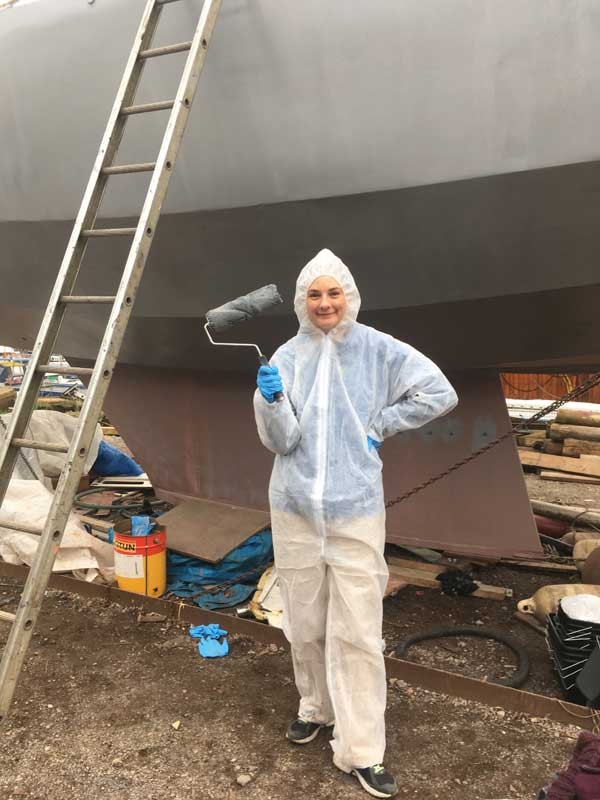
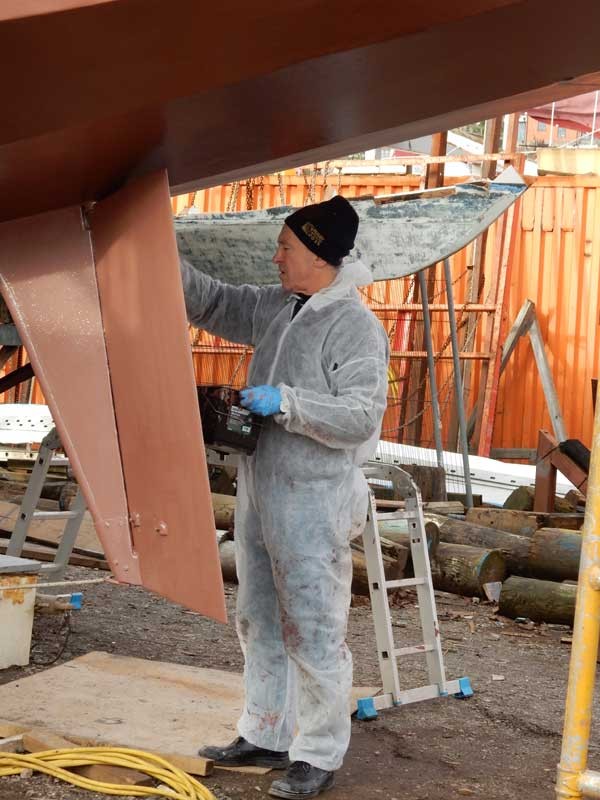
Bogdan escaped the embaressing photo of him in one of our disposable coveralls but Laura and Eddy are represented here (notice how much paint Eddy has all over him compared to Laura!) One of the main purposes of this project is to use the products we sell in a real working environment and learn about them. The first thing we learnt was that the coveralls we had been supplying were really not up to standard! The material was very thin, tore easily and let paint through. We immediately set about finding a new supplier and our new coveralls are significantly better.
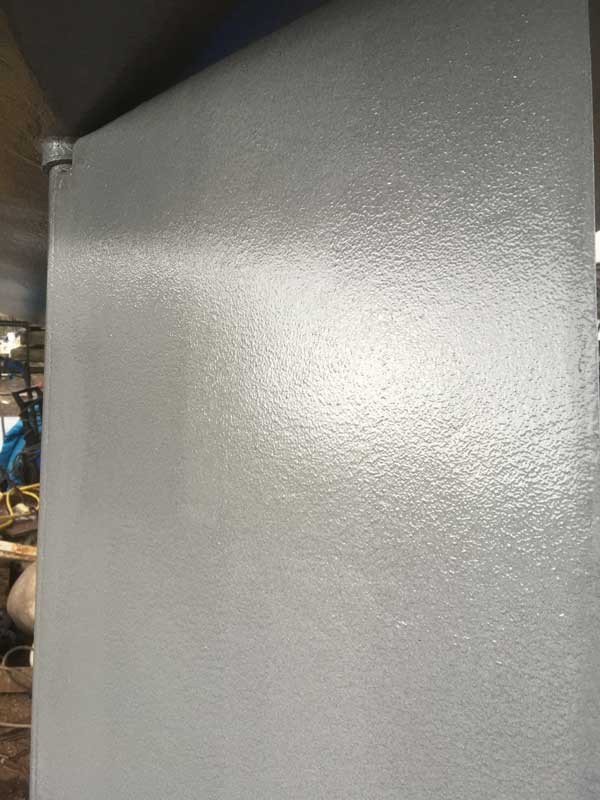
We were using a 2.5 litre tin of Surface Tolerant Epoxy Primer for each coat of the hull so it was simply a process of mixing the two components together and giving it a good stir. We used our 5 litre scuttles which hold more paint than a conventional tray and are easier to walk around the boat with. We also used both our 4” and 9" roller frames/cage with the blue stripe rollers. The 9" rollers could prove a bit heavy after a while and the large diameter 4” fat rollers (which hold much more paint than the standard size) were the prefered option for most of us. The normal colour of the Surface Tolerant Epoxy Primer is silver so for the second coat we added some of our red tint so we could ensure we were getting even coverage.
The cured coating is very tough and could be described as a ‘Hammerite’ type finish. We were very impressed with how well the paint went on and that we could peel the remains of paint out of the scuttles the next day and re-use them. The bucket shaped coating was flexible and was similar to plastic and tough enough so that you couldn’t tear it. We’ve recently added scuttle liners to our range of products, so using these saves time.
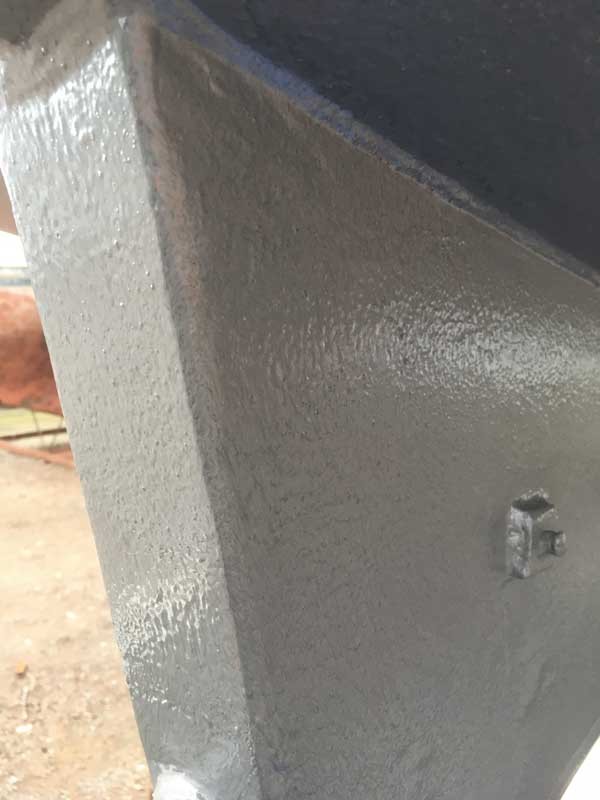
The bilge took longer to paint as there were many more angles to paint around including frames etc. We mixed the smaller quantities using a set of weighing scales and the mixing by weight tables we supply with every order of 2 pack paints. Here we used the combination of a 4” roller and a 2” contractor brush which we threw away after each day of painting. Again we added a litle red tint to the second coat (3 coats in total) so we could ensure even coverage. We also took our time to ensure we got in every area and made sure we didn’t block the drainage gaps with paint.
We had replaced all the thru hull fittings with welded stand pipes (threaded to take a seacock at the end) and to paint inside these we applied a patch of aluminium foil tape to the outside of the hull and poured the Surface Tolerant Epoxy Primer Primer into the tube (from inside the boat) until it was full. We then went outside with a bucket and pierced a hole in the tape to allow the paint to flow out. Once empty the tape was removed and the tube was evenly coated. If we were to do it again however we would mask the threaded ends with tape, the Surface Tolerant Epoxy Primer dried and stuck so well that any on the thread could only be removed by re-threading the tube with a die!
Above the waterline we knew we wanted as smooth a finish as possible so we used our SML High Build Epoxy Primer. We had done some testing with this product before and knew that once cured it sands really well to a glass like finish without clogging the sanding sheets. SML High Build Epoxy Primer can be mixed to any colour so this was a great opportunity to see what different topcoat colours would look like on the hull.

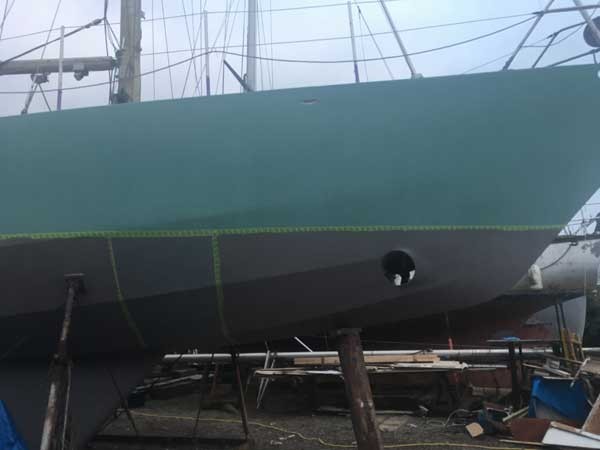
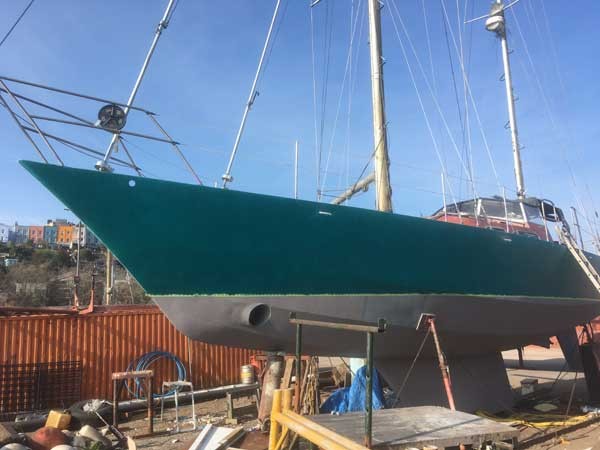
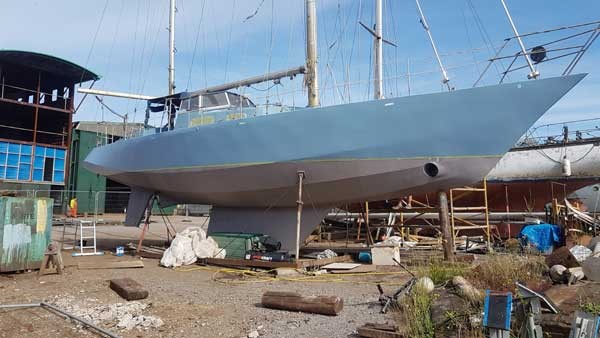
It took about 2.5 litres of SML High Build Epoxy Primer to paint each side so we mixed up four different colours. The colour we finally settled on was the light blue in the last image.
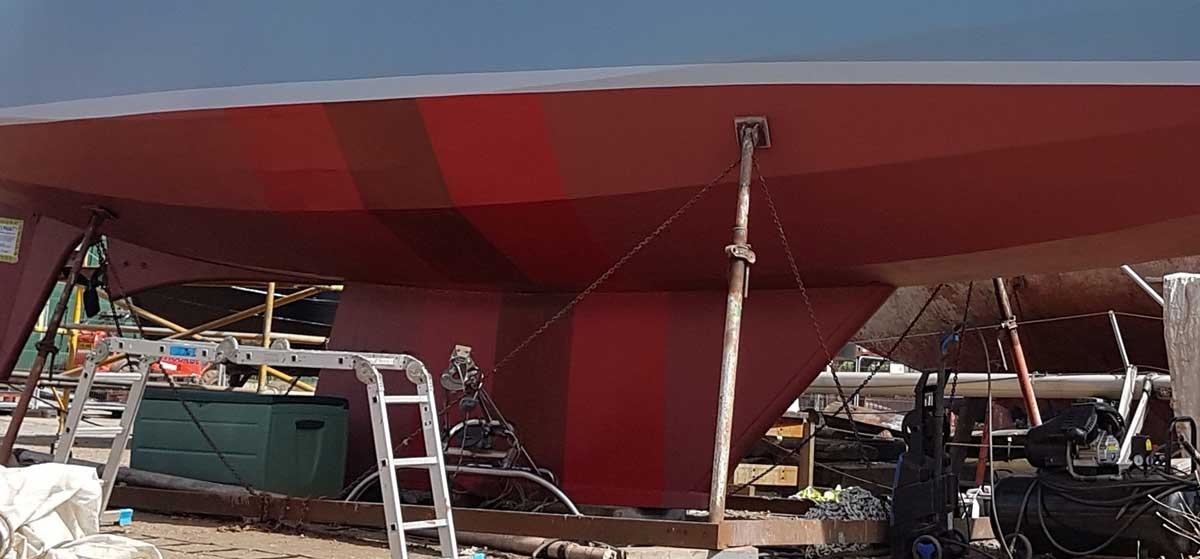
We are using Du Bleiz to test some competitors antifouling products against our CU-PRO Premium Antifouling so we taped off three stripes at the keel (below the waterline) and painted each stripe with a different product and then the rest of the hull and rudder with CU-PRO.
PART 1 - Introduction
PART 2 - The viewing, purchase and survey
PART 3 - Preparing the deck and hull
PART 4 - Finding corrosion
PART 5 - The Bilge
PART 6 - Fairing
PART 7 - Painting - Primer
PART 8 - Painting - Topcoat
Follow us on:
Use the form below or send an email to info@smlpaints.co.uk

