
After the discovery of corrosion to the hull of Du Bleiz we had to remove some of the interior to be able to weld in new steel plates. We were planning on cleaning and painting the bilge but now that things were clearer inside we thought we might as well do a proper job. As it happens, this was a good decision. We were able to get a good look at the construction of Du Bleiz and noticed that some of the frames (running the length of the hull) were corroded where water had been lying on the frame.
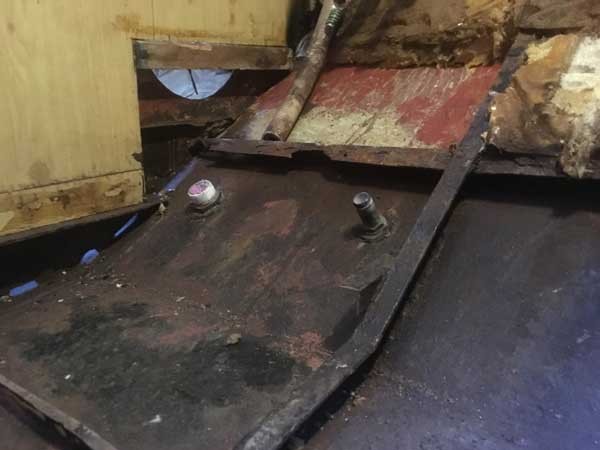
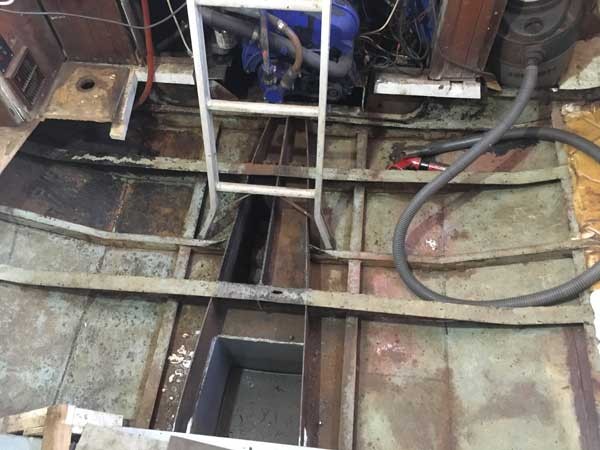
The hull above the second chine is insulated with foam and water from the shower had been seeping through the foam and collecting on the frame with nowhere to go. The frames running side to side are constructed so that they are raised up from the steel hull plates to allow water to drain between them. However over the years layers of bilge paint or corrosion had closed-up some of these gaps. This meant that any water collected in some places or flowed very slowly to the collection point with the bilge pump.
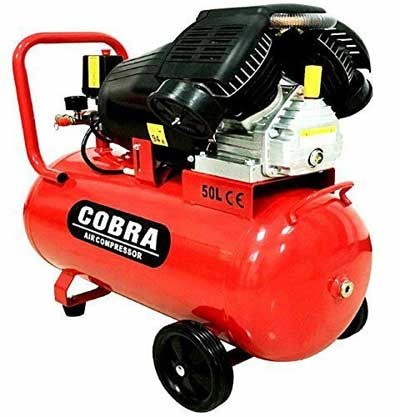
We set to work with a needle gun linked to a compressor to remove all the paint and rust. The needle gun, while very noisy, was the perfect tool for the job as we could get in to tight corners and small spaces with it. The original compressor we had was only about 9CFM and we were working it too hard. When that gave up we bought a 3hp V Twin one with 14.6CFM and that worked much better. If you are doing a big job be sure to have a few spare hose connections as we found that the constant vibration wore them out causing them to leak air. We also brought 20m of air hose so that we could have the compressor on the ground under the boat and use the gun anywhere without running out of hose. Working in the confined spaces of the boat it was essential to wear good quality ear defenders as well as the usual eye protection etc.
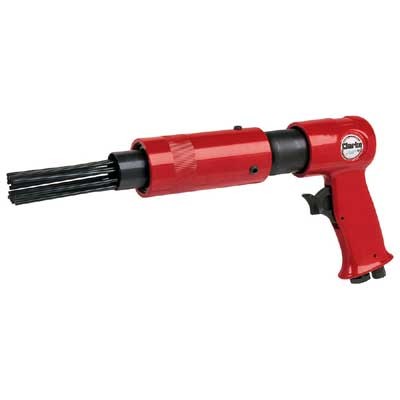

Once the top layers of paint were removed there was a very tough primer which did not shift, even under the onslaught of the needle gun so we did not go any further. We had a vacuum cleaner going all the time to clean up the dust as we went. After repairing a couple of frames that were corroded we scrubbed the whole bilge with a degreaser solution, rinsed and dried it ready for painting. Where we had removed any insulating foam we replaced it with a fire retardant spray foam.
PART 1 - Introduction
PART 2 - The viewing, purchase and survey
PART 3 - Preparing the deck and hull
PART 4 - Finding corrosion
PART 5 - The Bilge
PART 6 - Fairing
PART 7 - Painting - Primer
PART 8 - Painting - Topcoat
Follow us on:
Use the form below or send an email to info@smlpaints.co.uk

